Build a Token
Crafting a Token
ao, you're now ready to create your own token, a symbol of value and exchange within this decentralized medium. If you've found yourself wanting to learn how to create a token, but haven't visited the Messaging and Build a Chatroom lessons, be sure to do so as this page is part of a multi-part interactive tutorial.When creating tokens, we'll continue to use the Lua Language within ao to mint a token, guided by the principles outlined in the Token Specification.
Continuing Down the Rabbit Hole
In our last tutorial, Build a Chatroom, we learned how to create a chatroom within ao, invited both Morpheus and Trinity to the chatroom we created, and then Trinity has now asked for us to create a token for her as a way of proving ourselves worthy of continuing down the rabbit hole.
Let us begin.
The Two Paths To Building a Token
There are two paths to take when building a token:
- The Blueprint: This is a predesigned template that helps you quickly build a token in
ao. It is a great way to get started and can be customized to fit your needs.
Check here to learn more about the Token Blueprint. - The Manual Method: This is a step-by-step guide to building a token in
aofrom scratch. This path is for those who want to understand the inner workings of a token and how to build one from the ground up.
Check here to review the full Build a Token guide.
The Blueprint Method
For this tutorial, we'll be using the Token Blueprint to create a token for Trinity. This is a predesigned template that helps you quickly build a token in ao.
How To Use The Token Blueprint
- Make sure we're in the same directory as before during the previous steps in the tutorial.
- Open the Terminal.
- Start your
aosprocess. - Type in
.load-blueprint token
This will load the required handlers for the tutorials token within ao. It's important to note that the token blueprint isn't specific to this tutorial and can be used as a foundation for any token you wish to create.
Verify the Blueprint is Loaded
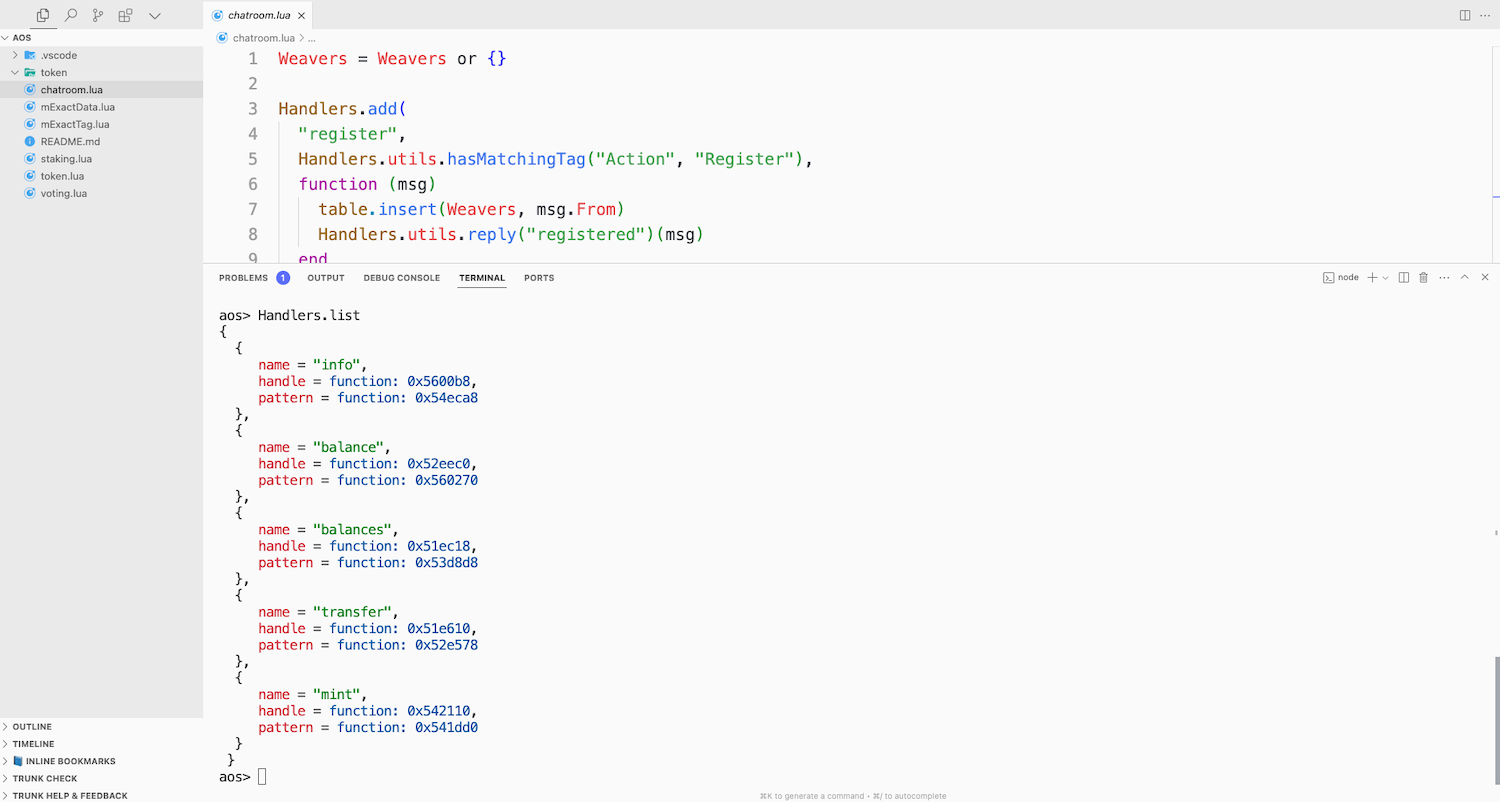
Type in Handlers.list to see the newly loaded handlers.
You should see a new list of handlers that have been loaded into your aos process. If you've been following along the with the previous steps in the tutorial, you should also see the handlers for your chatroom, as well.
Example:

Testing the Token
Now that the token blueprint is loaded, we can test the token by sending a message to ourselves using the Action = "Info" tag.
aos> Send({ Target = ao.id, Action = "Info" })
This will print a message to the console, but to read the message, we'll need to call the .Data from the latest message.
aos> Inbox[#Inbox].Data

# Replace `#Inbox` with the number of the last message received.
This will print the token information to the console. It should show your process ID with the total balance of tokens available.
Sending Tokens to Trinity
Now that we've tested the token and it's working as expected, we can send some tokens to Trinity. We'll send 1000 tokens to Trinity using the Action = "Transfer" tag.
aos> Send({ Target = ao.id, Action = "Transfer", Recipient = Trinity, Quantity = "1000"})
When Trinity receives the tokens, she'll respond to the transfer with a message to confirm that she's received the tokens.
Her response will look something like this:
Trinity: "Token received. Interesting. I wasn't sure you'd make it this far. I'm impressed, but we are not done yet. I want you to use this token to tokengate the chatroom. Do that, and then I will believe you could be the one."
You've completed the process of creating a token and sending it to Trinity. You're now ready to move on to the next step in the tutorial. Tokengating the Chatroom.