Building a Token in `ao`
When creating tokens, we'll continue to use the Lua Language within ao to mint a token, guided by the principles outlined in the Token Specification.
Two Ways to Create Tokens:
1 - Use the token blueprint:
.load-blueprint token
Using the token blueprint will create a token with all the handlers and state already defined. This is the easiest way to create a token. You'll be able to customize those handlers and state to your after loading the blueprint.
You can learn more about available blueprints here: Blueprints
2 - Build from Scratch:
The following guide will guide you through the process of creating a token from scratch. This is a more advanced way to create a token, but it will give you a better understanding of how tokens work.
Preparations
Step 1: Initializing the Token
- Open our preferred text editor, preferrably from within the same folder you used fduring the previous tutorial.
- Create a new file named
token.lua. - Within
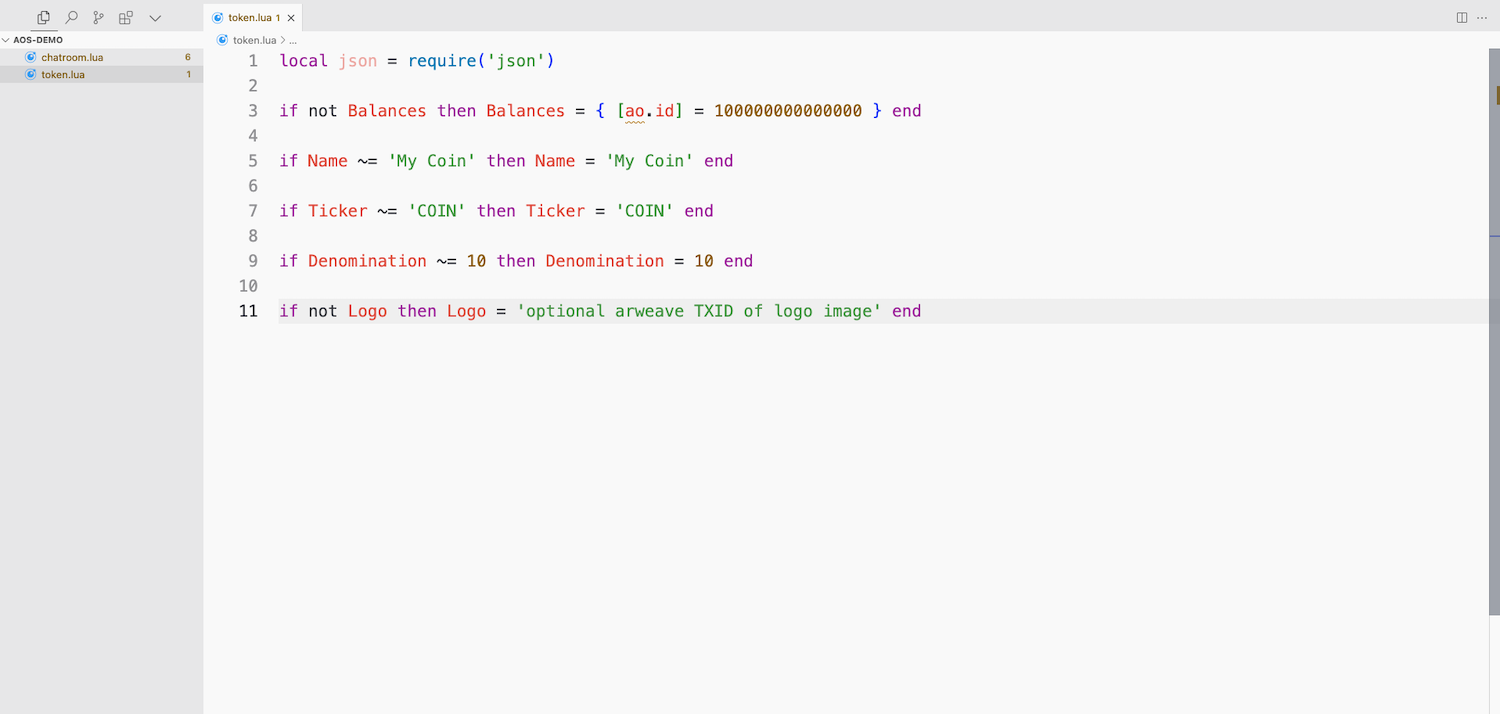
token.lua, you'll begin by initializing the token's state, defining its balance, name, ticker, and more:
local json = require('json')

if not Balances then Balances = { [ao.id] = 100000000000000 } end

if Name ~= 'My Coin' then Name = 'My Coin' end

if Ticker ~= 'COIN' then Ticker = 'COIN' end

if Denomination ~= 10 then Denomination = 10 end

if not Logo then Logo = 'optional arweave TXID of logo image' end

Let's break down what we've done here:
local json = require('json'): This first line of this code imports a module for later use.if not Balances then Balances = { [ao.id] = 100000000000000 } end: This second line is initializing a Balances table which is the way the Process tracks who posses the token. We initialize our token processao.idto start with all the balance.- The Next 4 Lines,
if Name,if Ticker,if Denomination, andif not Logoare all optional, except forif Denomination, and are used to define the token's name, ticker, denomination, and logo respectively.
if Denomination ~= 10 then Denomination = 10 end tells us the number of the token that should be treated as a single unit.Step 2: Info and Balances Handlers
Incoming Message Handler
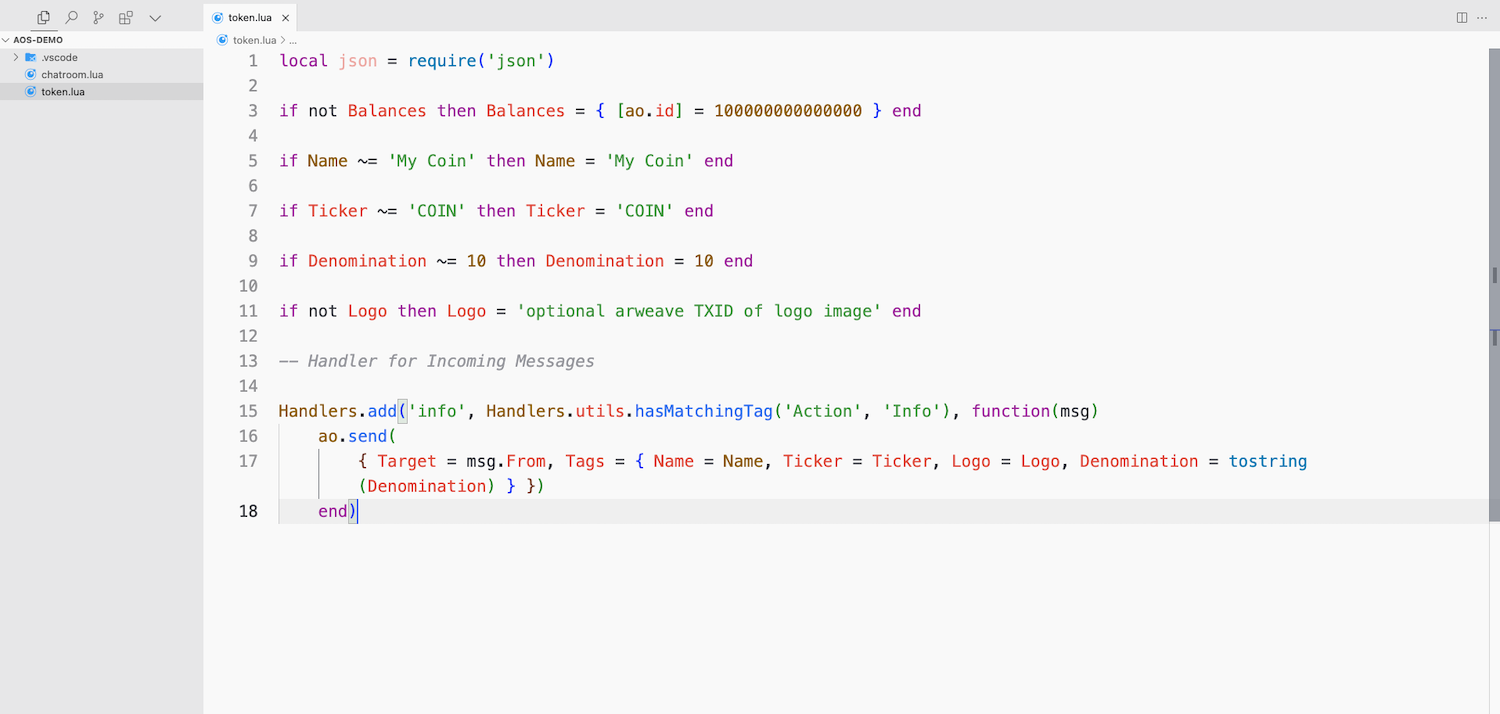
Now lets add our first Handler to handle incoming Messages.
Handlers.add('info', Handlers.utils.hasMatchingTag('Action', 'Info'), function(msg)
  ao.send(
      { Target = msg.From, Tags = { Name = Name, Ticker = Ticker, Logo = Logo, Denomination = tostring(Denomination) } })
end)

token.lua file rather than using .editor.With many handlers and processes, it's perfectly fine to create your handlers using .editor, but because we're creating a full process for initizialing a token, setting up info and balances handlers, transfer handlers, and a minting handler, it's best to keep everything in one file.This also allows us to maintain consistency since each handler will be updated every time we reload the token.lua file into aos.This code means that if someone Sends a message with the Tag, Action = "info", our token will Send back a message with all of the information defined above. Note the Target = msg.From, this tells ao we are replying to the process that sent us this message.
Info & Token Balance Handlers
Now we can add 2 Handlers which provide information about token Balances.
Handlers.add('balance', Handlers.utils.hasMatchingTag('Action', 'Balance'), function(msg)
  local bal = '0'

  -- If not Target is provided, then return the Senders balance
  if (msg.Tags.Target and Balances[msg.Tags.Target]) then
    bal = tostring(Balances[msg.Tags.Target])
  elseif Balances[msg.From] then
    bal = tostring(Balances[msg.From])
  end

  ao.send({
    Target = msg.From,
    Tags = { Target = msg.From, Balance = bal, Ticker = Ticker, Data = json.encode(tonumber(bal)) }
  })
end)

Handlers.add('balances', Handlers.utils.hasMatchingTag('Action', 'Balances'),
             function(msg) ao.send({ Target = msg.From, Data = json.encode(Balances) }) end)
The first Handler above Handlers.add('balance' handles a process or person requesting their own balance or the balance of a Target. Then replies with a message containing the info. The second Handler Handlers.add('balances' just replies with the entire Balances table.
Step 3: Transfer Handlers
Before we begin testing we will add 2 more Handlers one which allows for the transfer of tokens between processes or users.
Handlers.add('transfer', Handlers.utils.hasMatchingTag('Action', 'Transfer'), function(msg)
  assert(type(msg.Tags.Recipient) == 'string', 'Recipient is required!')
  assert(type(msg.Tags.Quantity) == 'string', 'Quantity is required!')

  if not Balances[msg.From] then Balances[msg.From] = 0 end

  if not Balances[msg.Tags.Recipient] then Balances[msg.Tags.Recipient] = 0 end

  local qty = tonumber(msg.Tags.Quantity)
  assert(type(qty) == 'number', 'qty must be number')

  if Balances[msg.From] >= qty then
    Balances[msg.From] = Balances[msg.From] - qty
    Balances[msg.Tags.Recipient] = Balances[msg.Tags.Recipient] + qty

    --[[
      Only Send the notifications to the Sender and Recipient
      if the Cast tag is not set on the Transfer message
    ]] --
    if not msg.Tags.Cast then
      -- Send Debit-Notice to the Sender
      ao.send({
        Target = msg.From,
        Tags = { Action = 'Debit-Notice', Recipient = msg.Tags.Recipient, Quantity = tostring(qty) }
      })
      -- Send Credit-Notice to the Recipient
      ao.send({
        Target = msg.Tags.Recipient,
        Tags = { Action = 'Credit-Notice', Sender = msg.From, Quantity = tostring(qty) }
      })
    end
  else
    ao.send({
      Target = msg.Tags.From,
      Tags = { Action = 'Transfer-Error', ['Message-Id'] = msg.Id, Error = 'Insufficient Balance!' }
    })
  end
end)
In summary, this code checks to make sure the Recipient and Quantity Tags have been provided, initializes the balances of the person sending the message and the Recipient if they dont exist and then attempts to transfer the specified quantity to the Recipient in the Balances table.
Balances[msg.From] = Balances[msg.From] - qty
Balances[msg.Tags.Recipient] = Balances[msg.Tags.Recipient] + qty
If the transfer was successful a Debit-Notice is sent to the sender of the original message and a Credit-Notice is sent to the Recipient.
-- Send Debit-Notice to the Sender
ao.send({
    Target = msg.From,
    Tags = { Action = 'Debit-Notice', Recipient = msg.Tags.Recipient, Quantity = tostring(qty) }
})
-- Send Credit-Notice to the Recipient
ao.send({
    Target = msg.Tags.Recipient,
    Tags = { Action = 'Credit-Notice', Sender = msg.From, Quantity = tostring(qty) }
})
If there was insufficient balance for the transfer it sends back a failure message
ao.send({
    Target = msg.Tags.From,
    Tags = { Action = 'Transfer-Error', ['Message-Id'] = msg.Id, Error = 'Insufficient Balance!' }
})
The line if not msg.Tags.Cast then Means were not producing any messages to push if the Cast tag was set. This is part of the ao protocol.
Step 4: Mint Handler
Finally, we will add a Handler to allow the minting of new tokens.
Handlers.add('mint', Handlers.utils.hasMatchingTag('Action', 'Mint'), function(msg, env)
  assert(type(msg.Tags.Quantity) == 'string', 'Quantity is required!')

  if msg.From == env.Process.Id then
    -- Add tokens to the token pool, according to Quantity
    local qty = tonumber(msg.Tags.Quantity)
    Balances[env.Process.Id] = Balances[env.Process.Id] + qty
  else
    ao.send({
      Target = msg.Tags.From,
      Tags = {
        Action = 'Mint-Error',
        ['Message-Id'] = msg.Id,
        Error = 'Only the Process Owner can mint new ' .. Ticker .. ' tokens!'
      }
    })
  end
end)
This code checks to make sure the Quantity Tag has been provided and then adds the specified quantity to the Balances table.
Loading and Testing
Once you've created your token.lua file, or you've used .load-blueprint token, you're now ready to begin testing.
1 - Start the aos process
Make sure you've started your aos process by running aos in your terminal.
2 - Loading the token.lua file
If you've followd along with the guide, you'll have a token.lua file in the same directory as your aos process. From the aos prompt, load in the file.
.load token.lua
3 - Testing the Token
Now we can send Messages to our aos process id, from the same aos prompt to see if is working. If we use ao.id as the Target we are sending a message to ourselves.
Send({ Target = ao.id, Action = "Info" })
This should print the Info defined in the contract. Check the latest inbox message for the response.
Inbox[#Inbox].Tags
This should print the Info defined in the contract.
#Inbox first to see the total number of messages are in the inbox. Then, run the last message number to see the data.Example:If #Inbox returns 5, then run Inbox[5].Data to see the data.4 - Transfer
Now, try to transfer a balance of tokens to another wallet or process id.
aos [name] in another terminal window to get a new process id. Make sure it's not the same aos [name] as the one you're currently using.Example:If you're using aos in one terminal window, you can run aos test in another terminal window to get a new process id.Send({ Target = ao.id, Tags = { Action = "Transfer", Recipient = 'another wallet or processid', Quantity = '10000' }})
After sending, you'll receive a printed message in the terminal similar to Debit-Notice on the sender's side and Credit-Notice on the recipient's side.
5 - Check the Balances
Now that you've transferred some tokens, let's check the balances.
Send({ Target = ao.id, Tags = { Action = "Balances" }})
Inbox[#Inbox].Data
You will see two process IDs or wallet addresses, each displaying a balance. The first should be your sending process ID, the second should be the recipient's process ID.
6 - Minting Tokens
Finally, attempt to mint some tokens.
Send({ Target = ao.id, Tags = { Action = "Mint", Quantity = '1000' }})
And check the balances again.
Send({ Target = ao.id, Tags = { Action = "Balances" }})
Inbox[#Inbox].Data
You'll then see the balance of the process ID that minted the tokens has increased.
Conclusion
That concludes the "Build a Token" guide. Learning out to build custom tokens will unlock a great deal of potential for your projects; whether that be creating a new currency, a token for a game, a governance token, or anything else you can imagine.